Bodies
A body is a fuselage, a pod, a boom or a nacelle. Its shape is set by an outline and by cross-sections. Pick a body in the list of parts or in the view. The panel on the right is headed Body, and it shows Length (nose to tail) and Nose at (where the nose is, from the reference point of the aircraft), then Outline, Nose, Tail and Cross-sections.
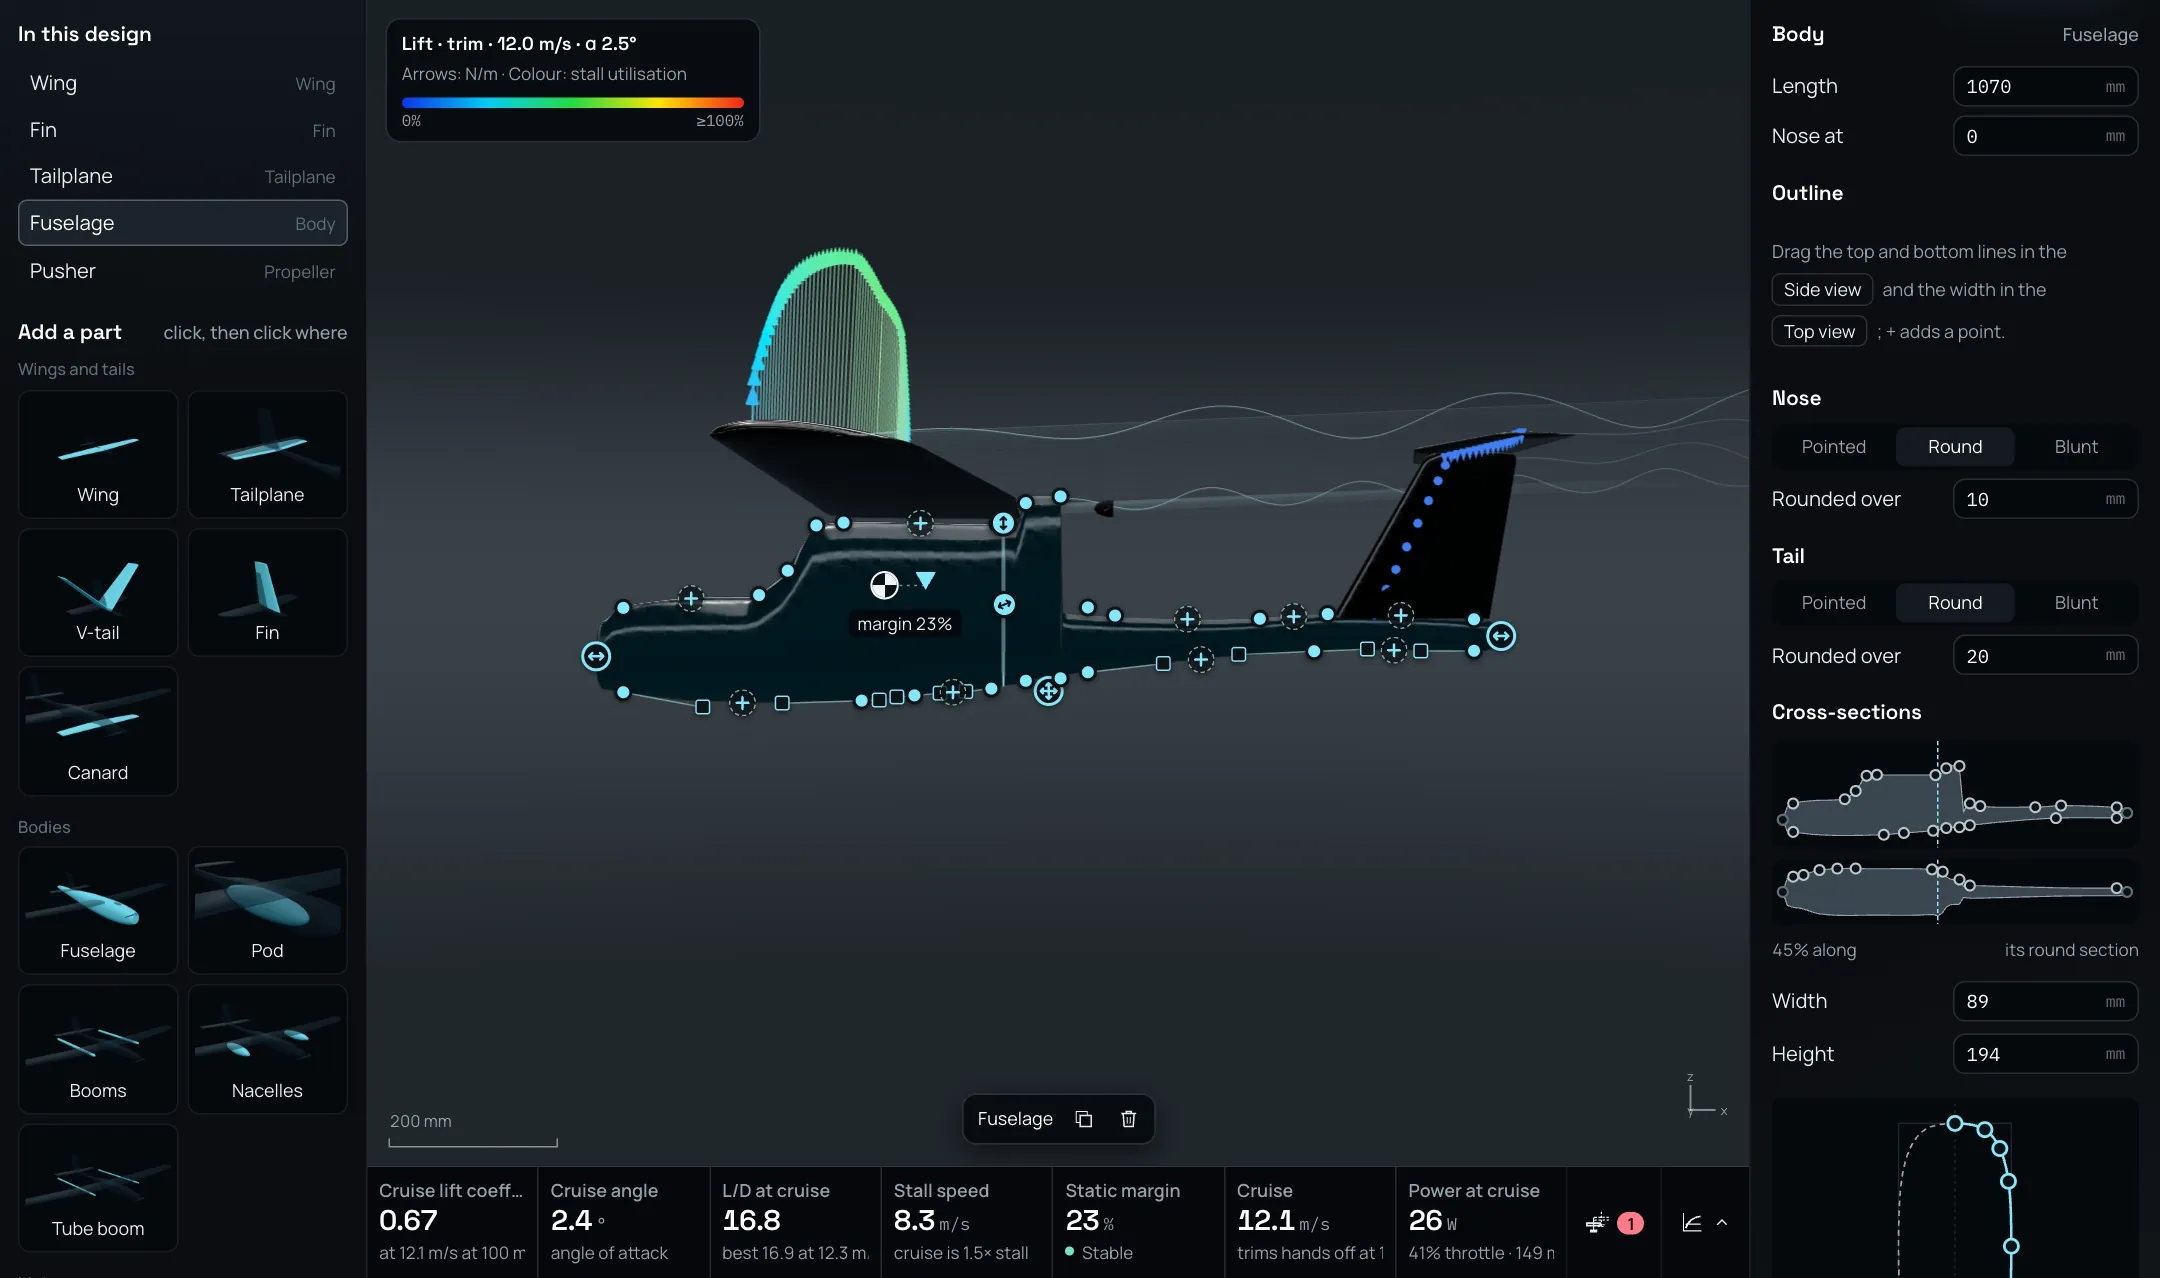
A fuselage picked in the Side view. The circles are the points of its outline, the + signs add a point.
The outline
The outline is three curves: the top line and the bottom line, seen from the side, and the width, seen from above. Each curve has points that you drag in the view.
Pick the body.
To change the height, select Side view. The top line and the bottom line show their points. To change the width, select Top view. The panel has the same two buttons, in the text under Outline.
Drag a point. A label shows the value, for example 320 mm high. The aircraft and the results follow while you drag. Letting go ends one undo step.
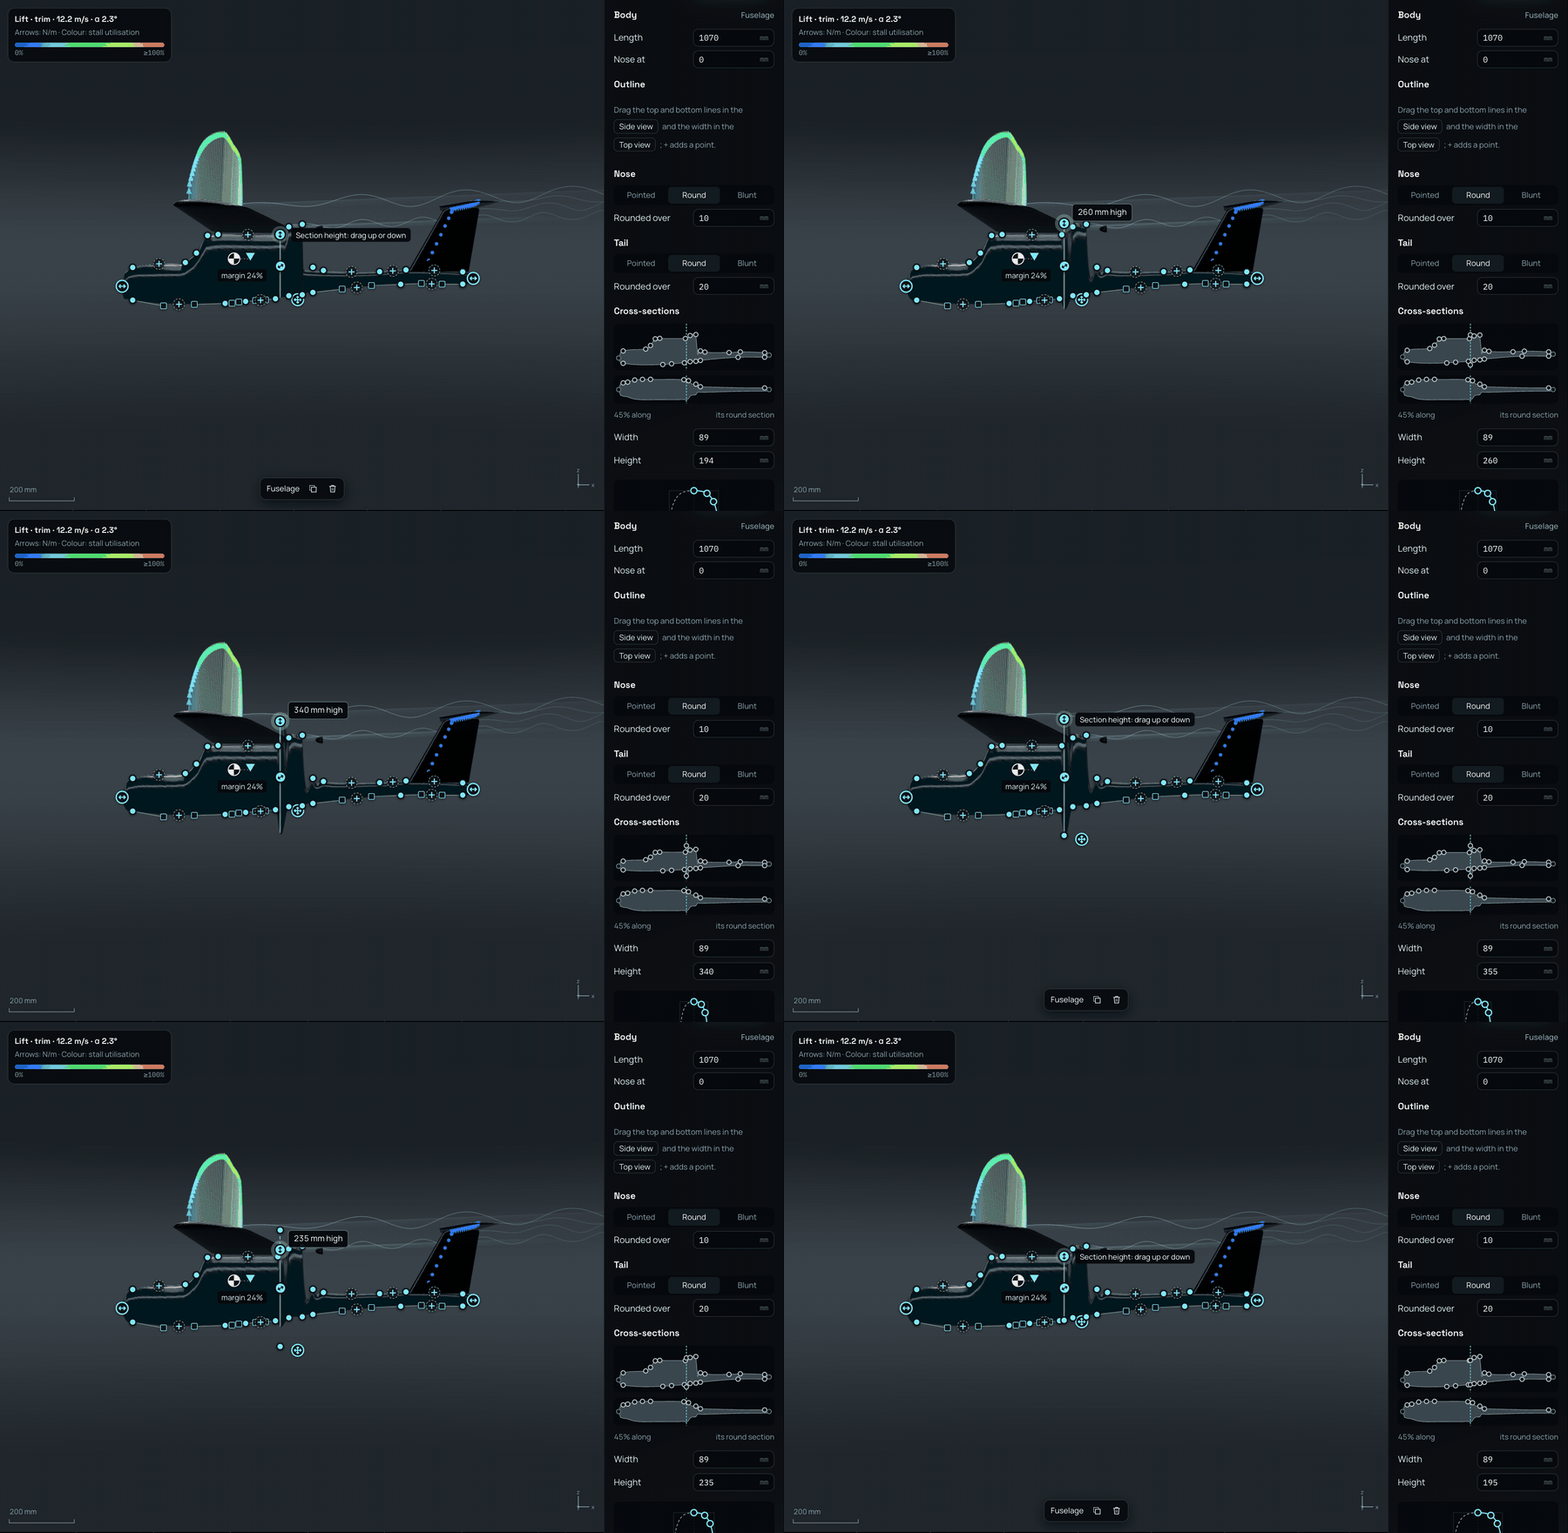
Dragging a point of the top line.
To add a point, select the + between two points.
To take a point away, select it (the bar at the bottom of the view then shows Top line, point 8 and a close button), and press Delete, or select the close button. The ends of a curve stay.
The handles at the nose and the tail move those ends along the body, and the handle in the middle moves the whole body. In the Top view the width of a body can be moved from its points the same way.
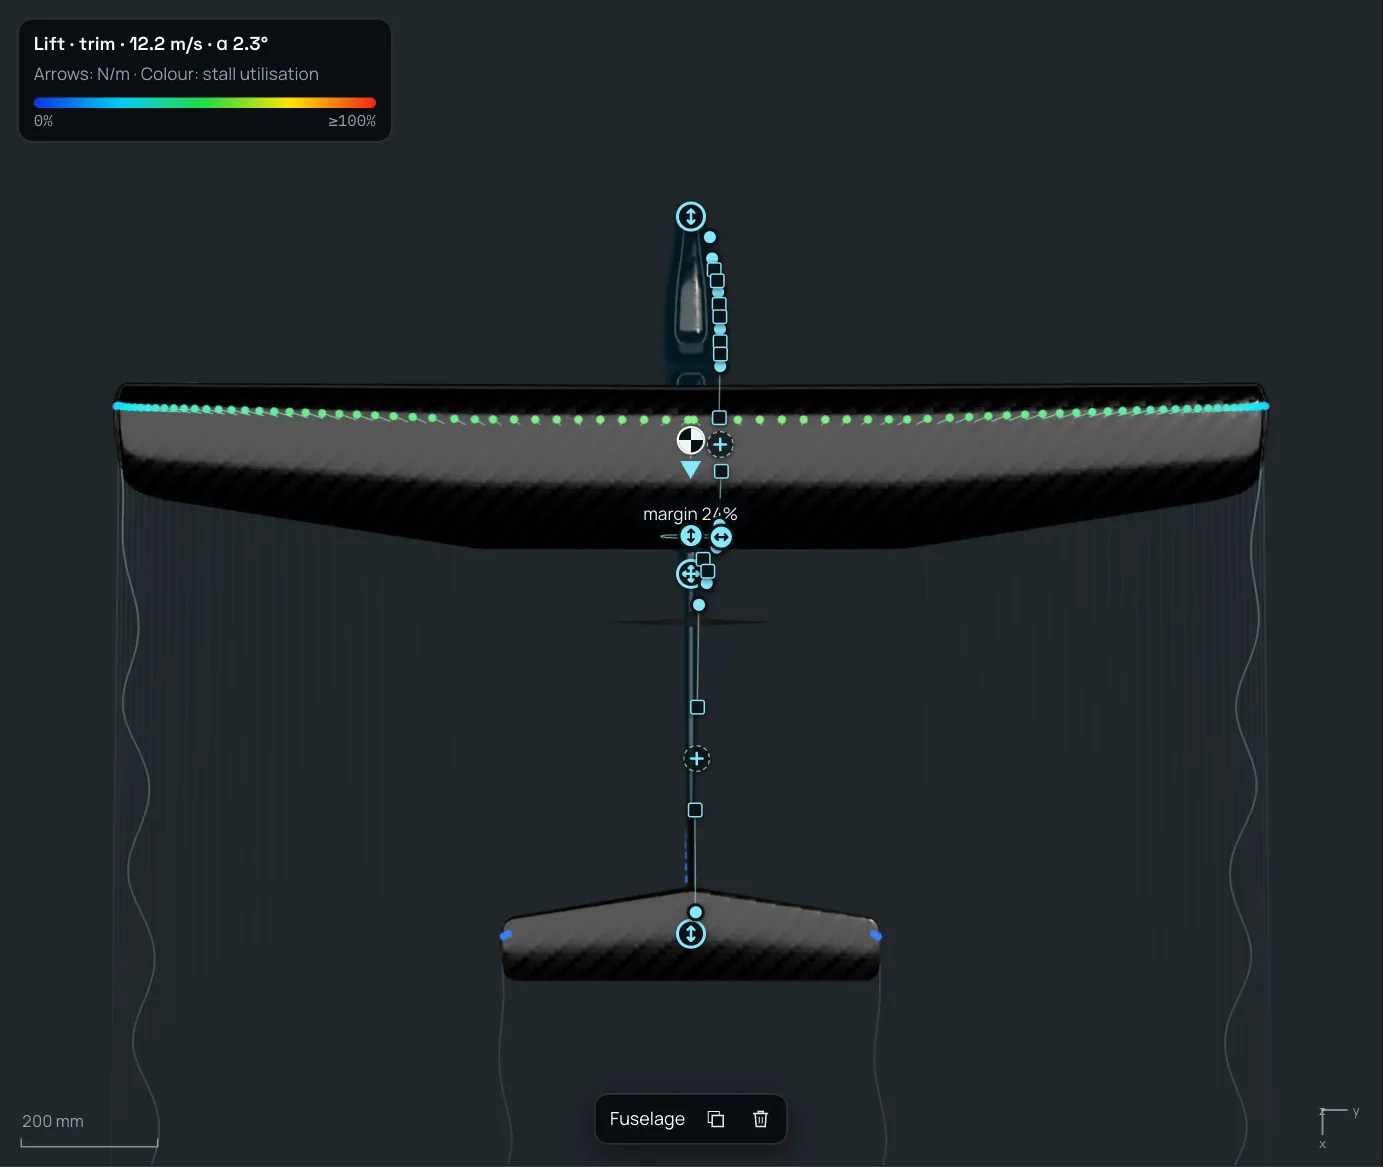
The Top view of the same body.
Nose and tail
The Nose and the Tail each have three shapes:
- Pointed
The body closes to a point, as its outline draws it. Tip radius rounds the point.
- Round
A smooth dome. Rounded over is how far back from the end the dome reaches.
- Blunt
A flat face, for a motor’s firewall, a nozzle or a camera window. Face is the share of the section that is flat, and Edge is how far back its edge is rounded.
Where the body still widens or narrows fast at the length you give, the dome meets it farther back, so that the outline does not turn back into a waist. The panel says how far, for example Rounds over 25 mm.
Cross-sections
The cross-section of a body is its shape across, at one place along it. A body can have several drawn sections. Between them the shape is blended. Where there is none, the body has its round section.
Note
A body that comes from some templates is built through rounded boxes. Its sections are the corners of its stations, not drawn sections, and the panel says so instead of showing the section editor.
The strips
Under Cross-sections are two small drawings of the body: the first from the side, the second from above.
The dots on the strips are the points of the outline. They are the same points as in the view. Select a dot to pick the point, to put the section at it, and to show its value in the bar. Remove point takes it away. A dot at an end of a curve cannot be removed.
The numbered marks are the drawn sections.
The line across the strips is the place of the section you are editing. The text under them says how far along the body it is, for example 45% along, and whether it is drawn here, blended from the drawn ones, or its round section.
To choose where along the body the section is, select a place on a strip, or press ← and → while a strip has focus. A click snaps to a drawn section or to a point near it.
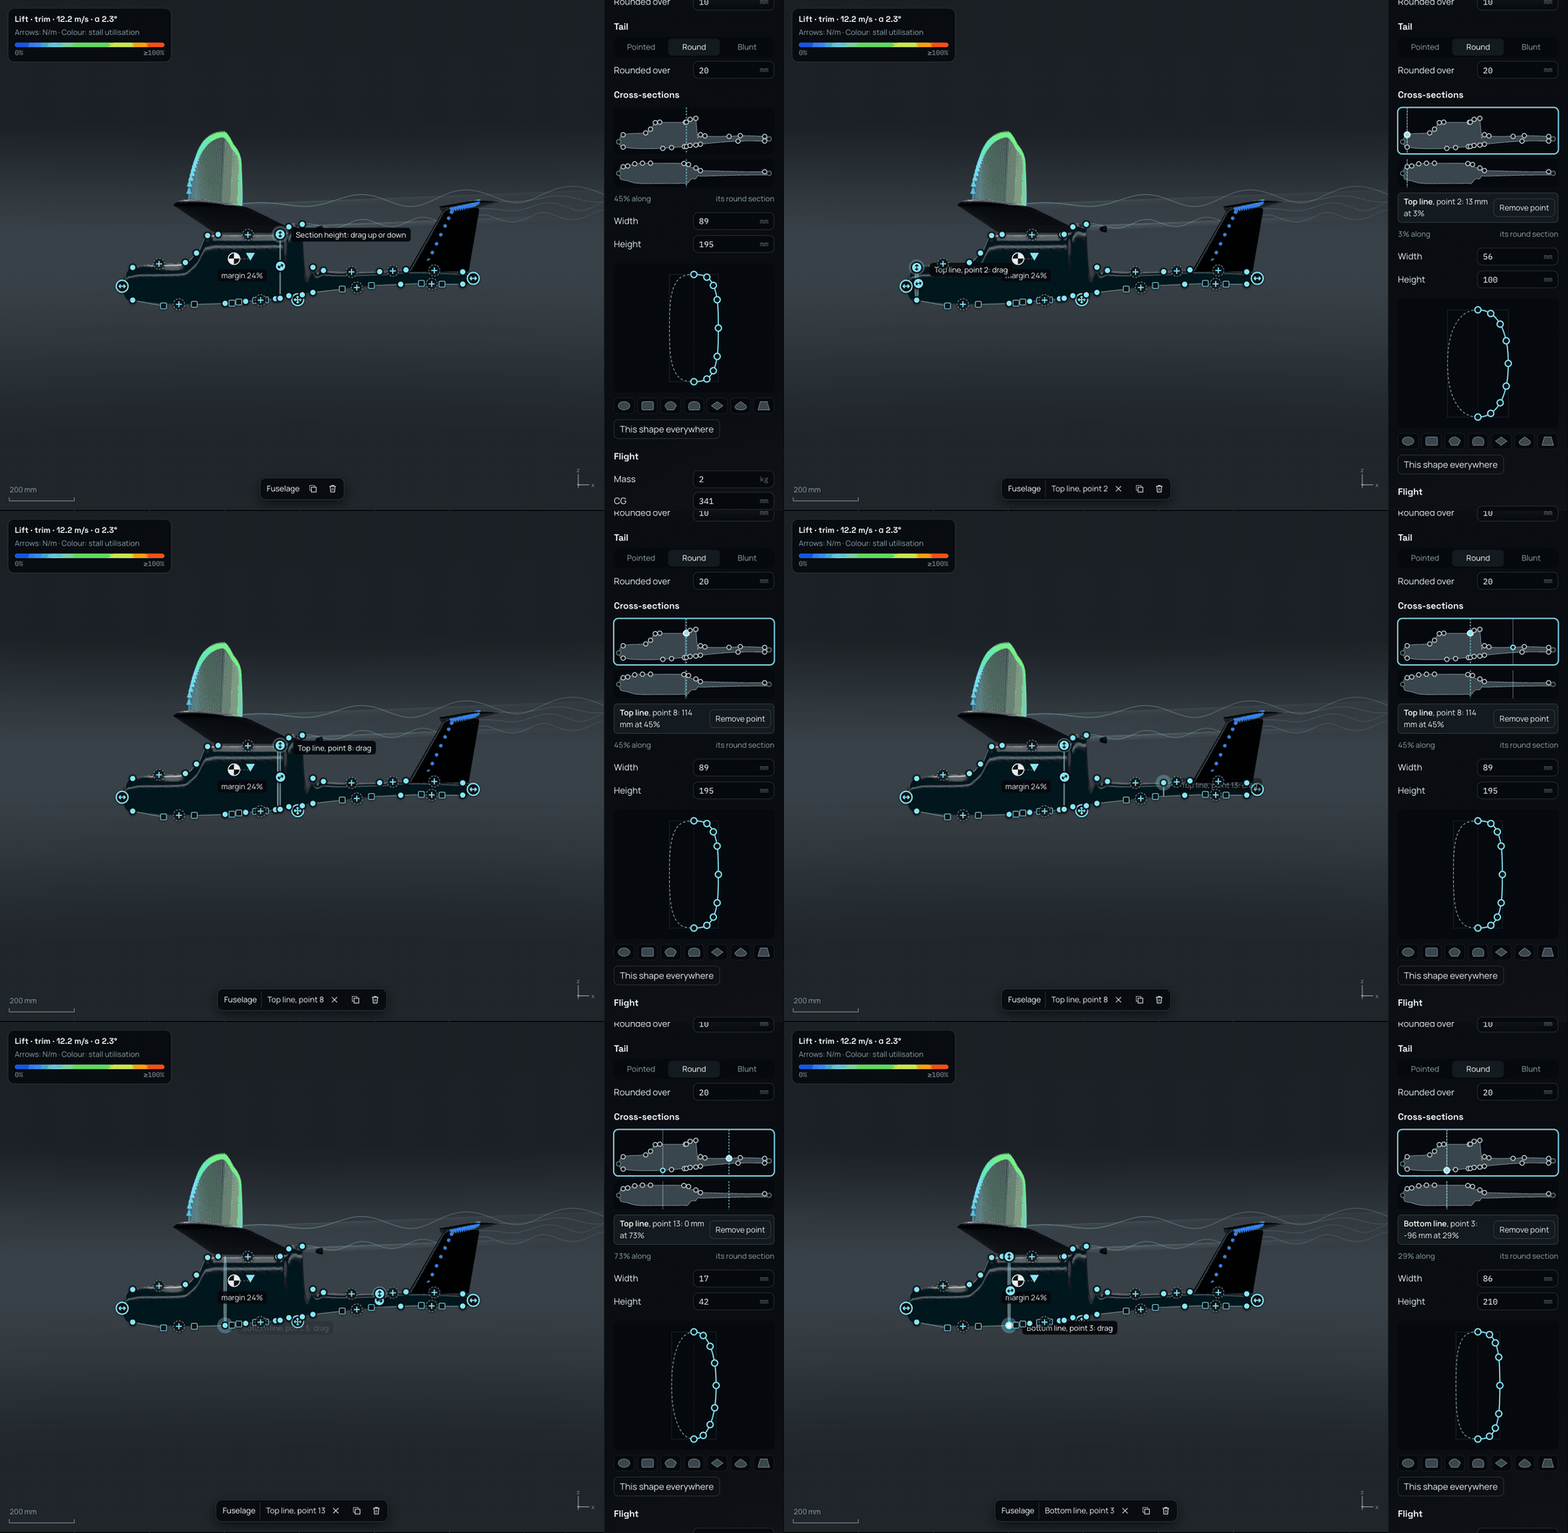
Picking points on the side strip.
Draw a section
Select a place on the strip.
Change the section: select a shape from the row of section shapes (Round, Rounded box, Chined (stealth), Flat-bottom lifting body, Diamond, Teardrop, Trapezoid), or change Width or Height. The place now has a drawn section: it is listed and numbered.
To change the shape, edit the drawing of the section. It shows the right half at its true proportions; the left half is its mirror. Drag a point. Select the outline to add a point. Double-click a point to make it a sharp corner, for a chine that runs along the body, and double-click again to make it smooth. Select a point and press Delete, or select Delete point, to remove it.
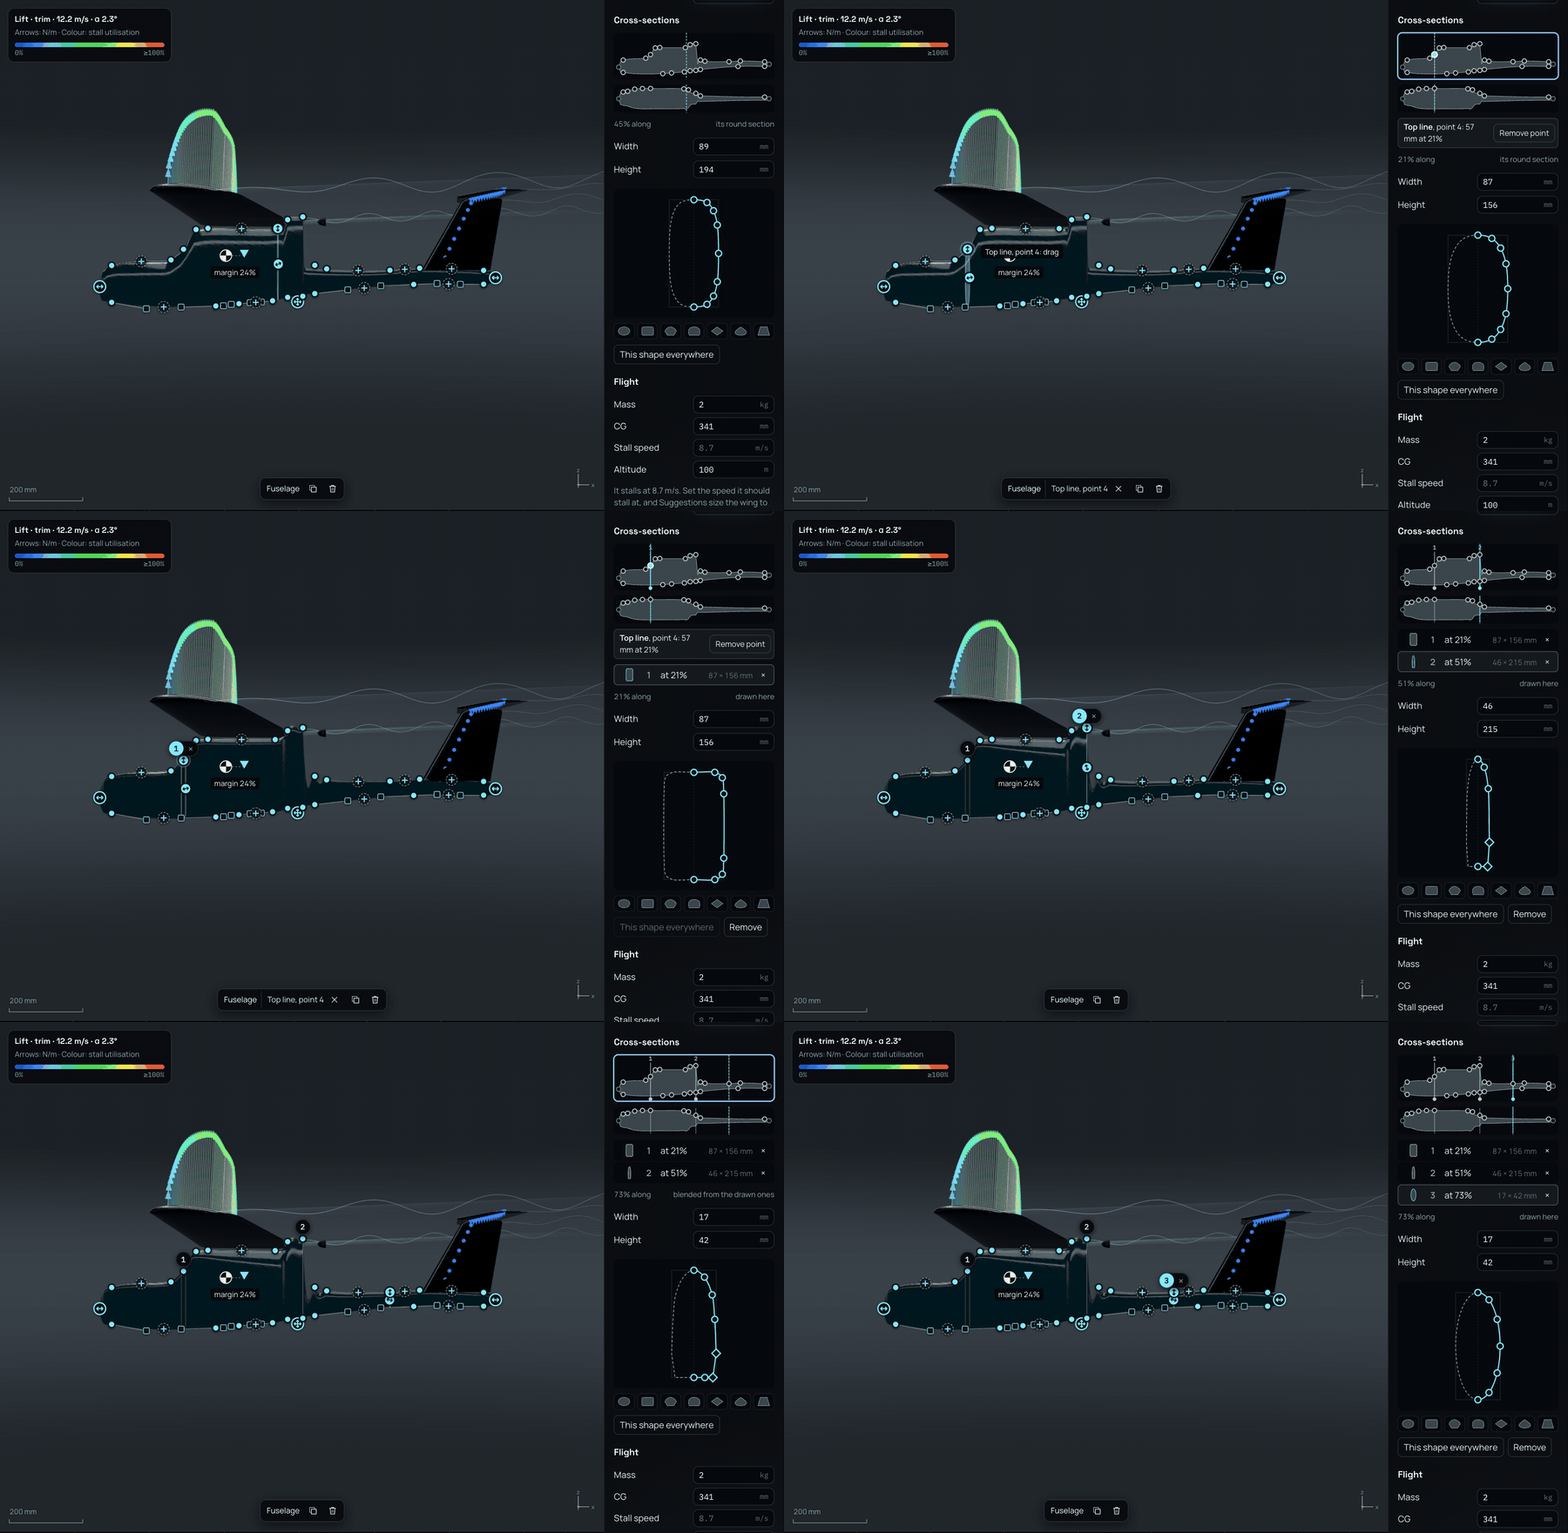
Drawing three sections.
The buttons under the drawing are This shape everywhere, which takes every other drawn section away so that this one shapes the whole body, and Remove, which takes this drawn section away.
The list of sections
Each drawn section is a row with its number, its place, for example at 51%, and its size, for example 46 × 215 mm. Select the row to edit the section. The × at its end removes the section.
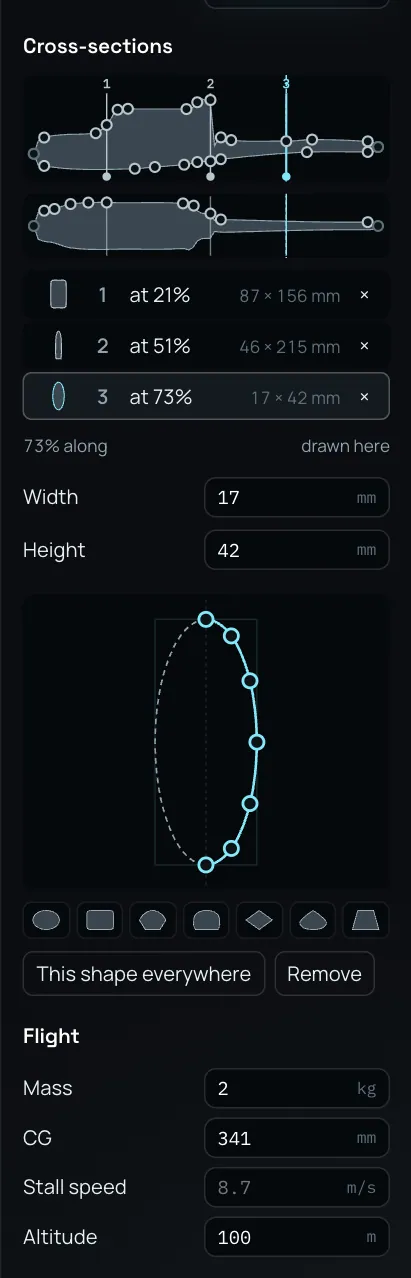
The strips, the list of drawn sections and the section editor.
In the view, each drawn section is a faint ring on the body with a numbered chip on it. Select the chip to edit the section; the chip of the section being edited is lit and has a × that removes it. Width and height handles on the ring of that section set Width and Height in the view.
Previews
Pointing at a section in the list, or at a place on the strips, shows that section in the view before you pick it. The same works for the panels of a wing: pointing at a panel in the list of panels shows its outline and its tip section on the wing (see Shape).
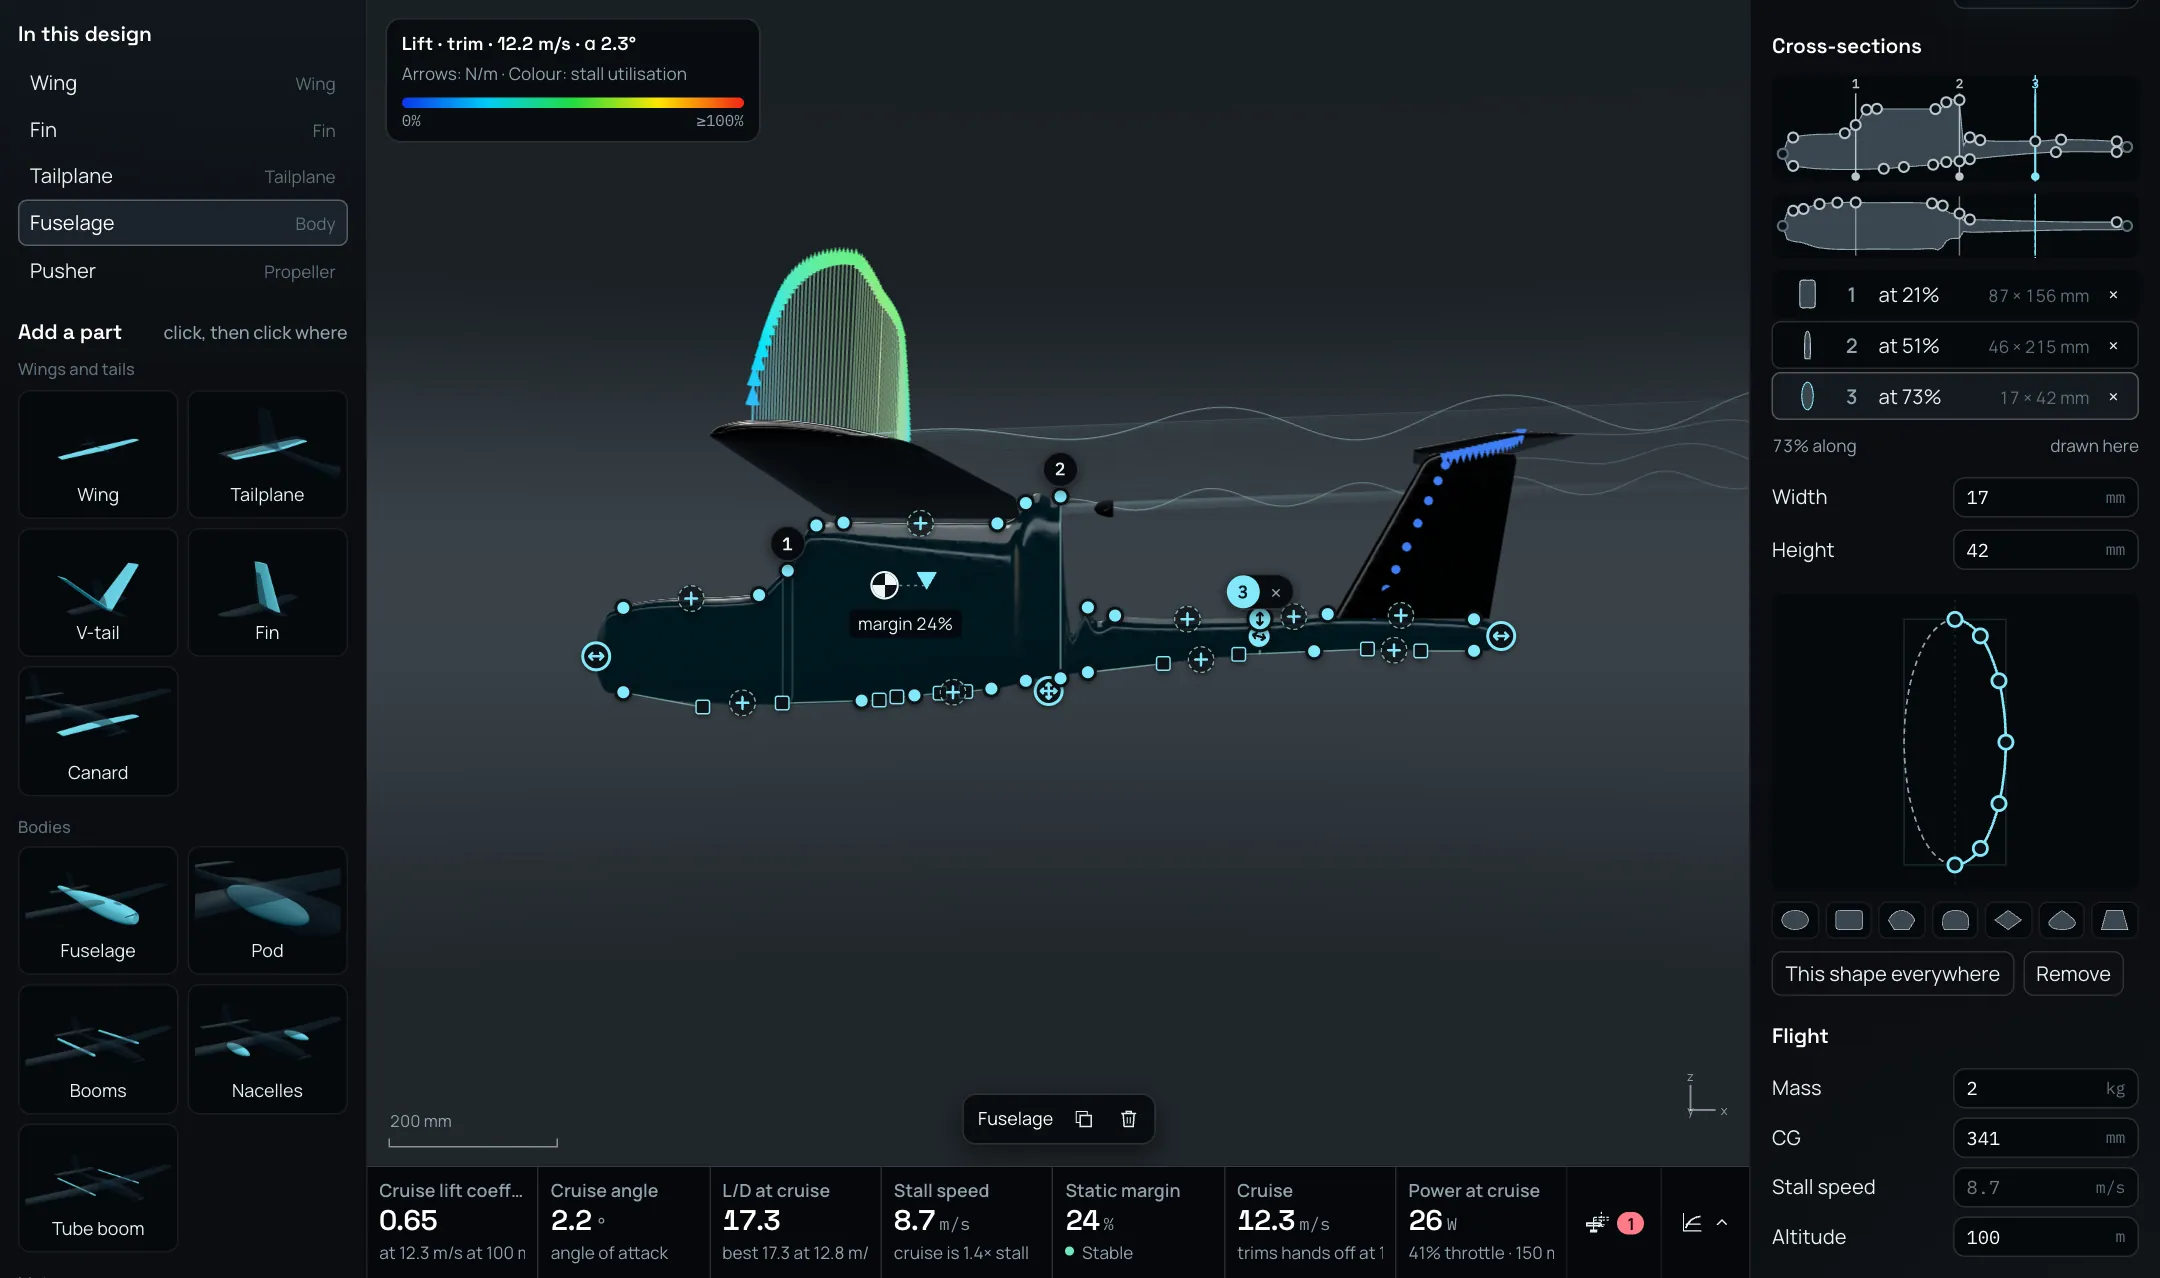
Pointing at section 2 in the list.
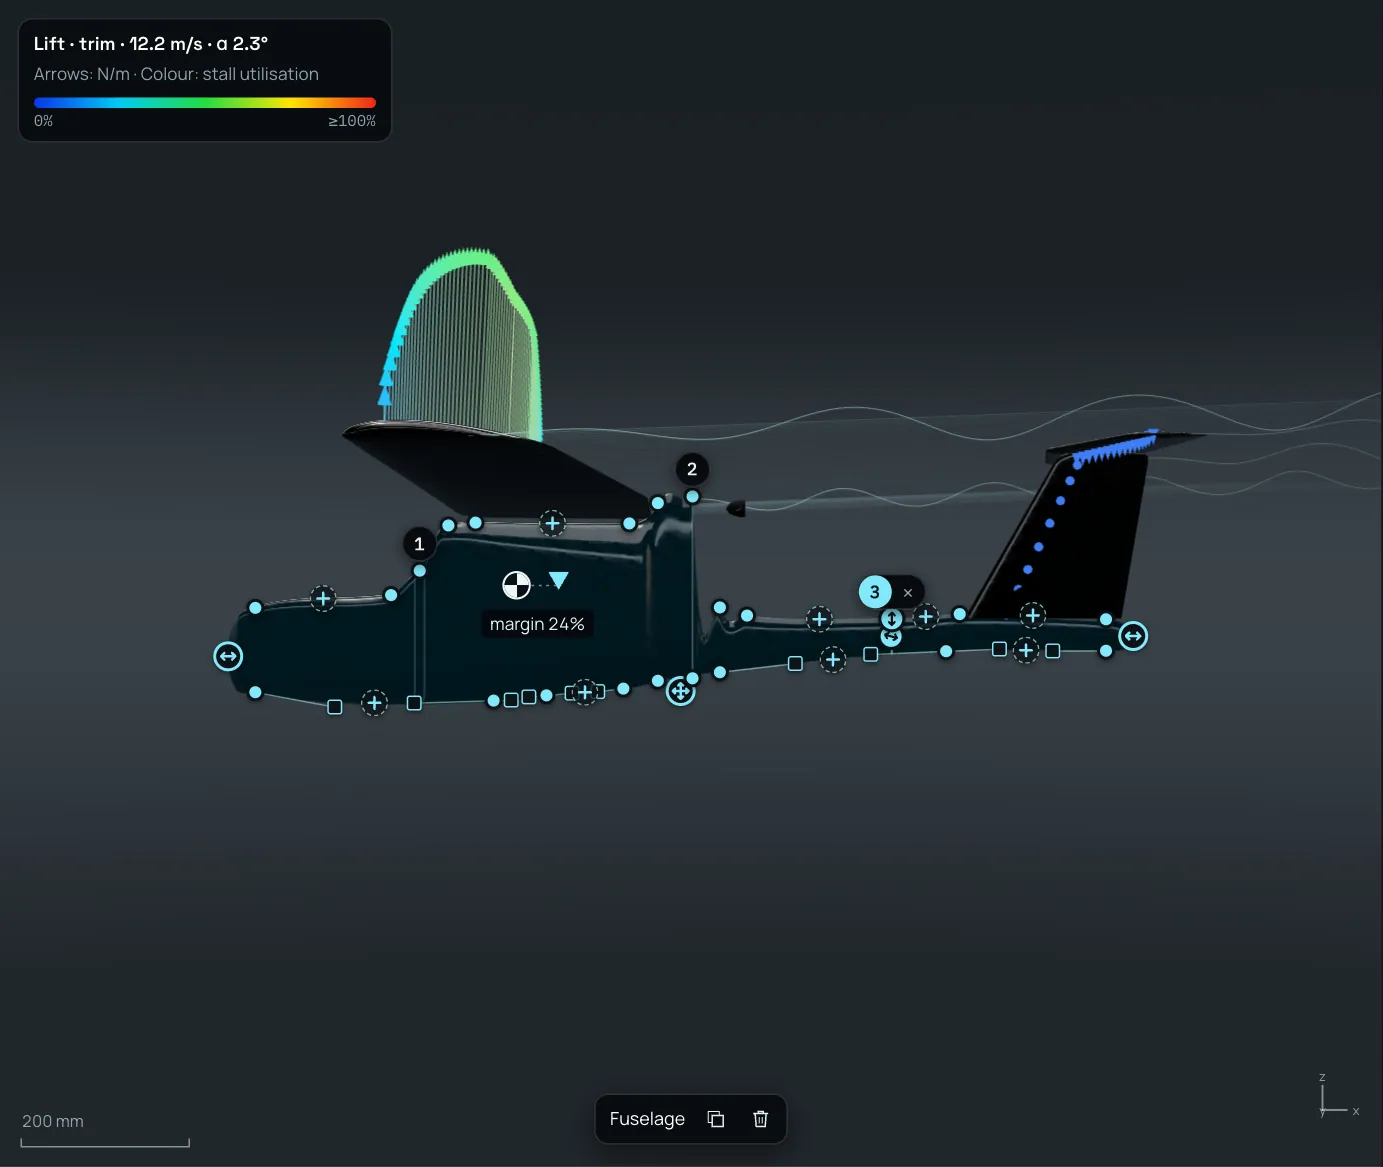
The chips of the drawn sections on the body.